It took me a long time to start to become a good cook, and I’m embarrassed to admit that it took me nearly twice as long to recognize the value that making your own stock adds to your kitchen.
Stock is cheap and easy to find in any grocery, so you’re probably asking me why you’d even want to make it? You’re going to just have to trust me on this one. The homemade stuff is way better, packed full of more of those good nutrients your body needs, and about a thousand time more flavorful. Plus, its an incredibly simple way to use a whole bunch of stuff in the kitchen that I used to find myself just throwing out.
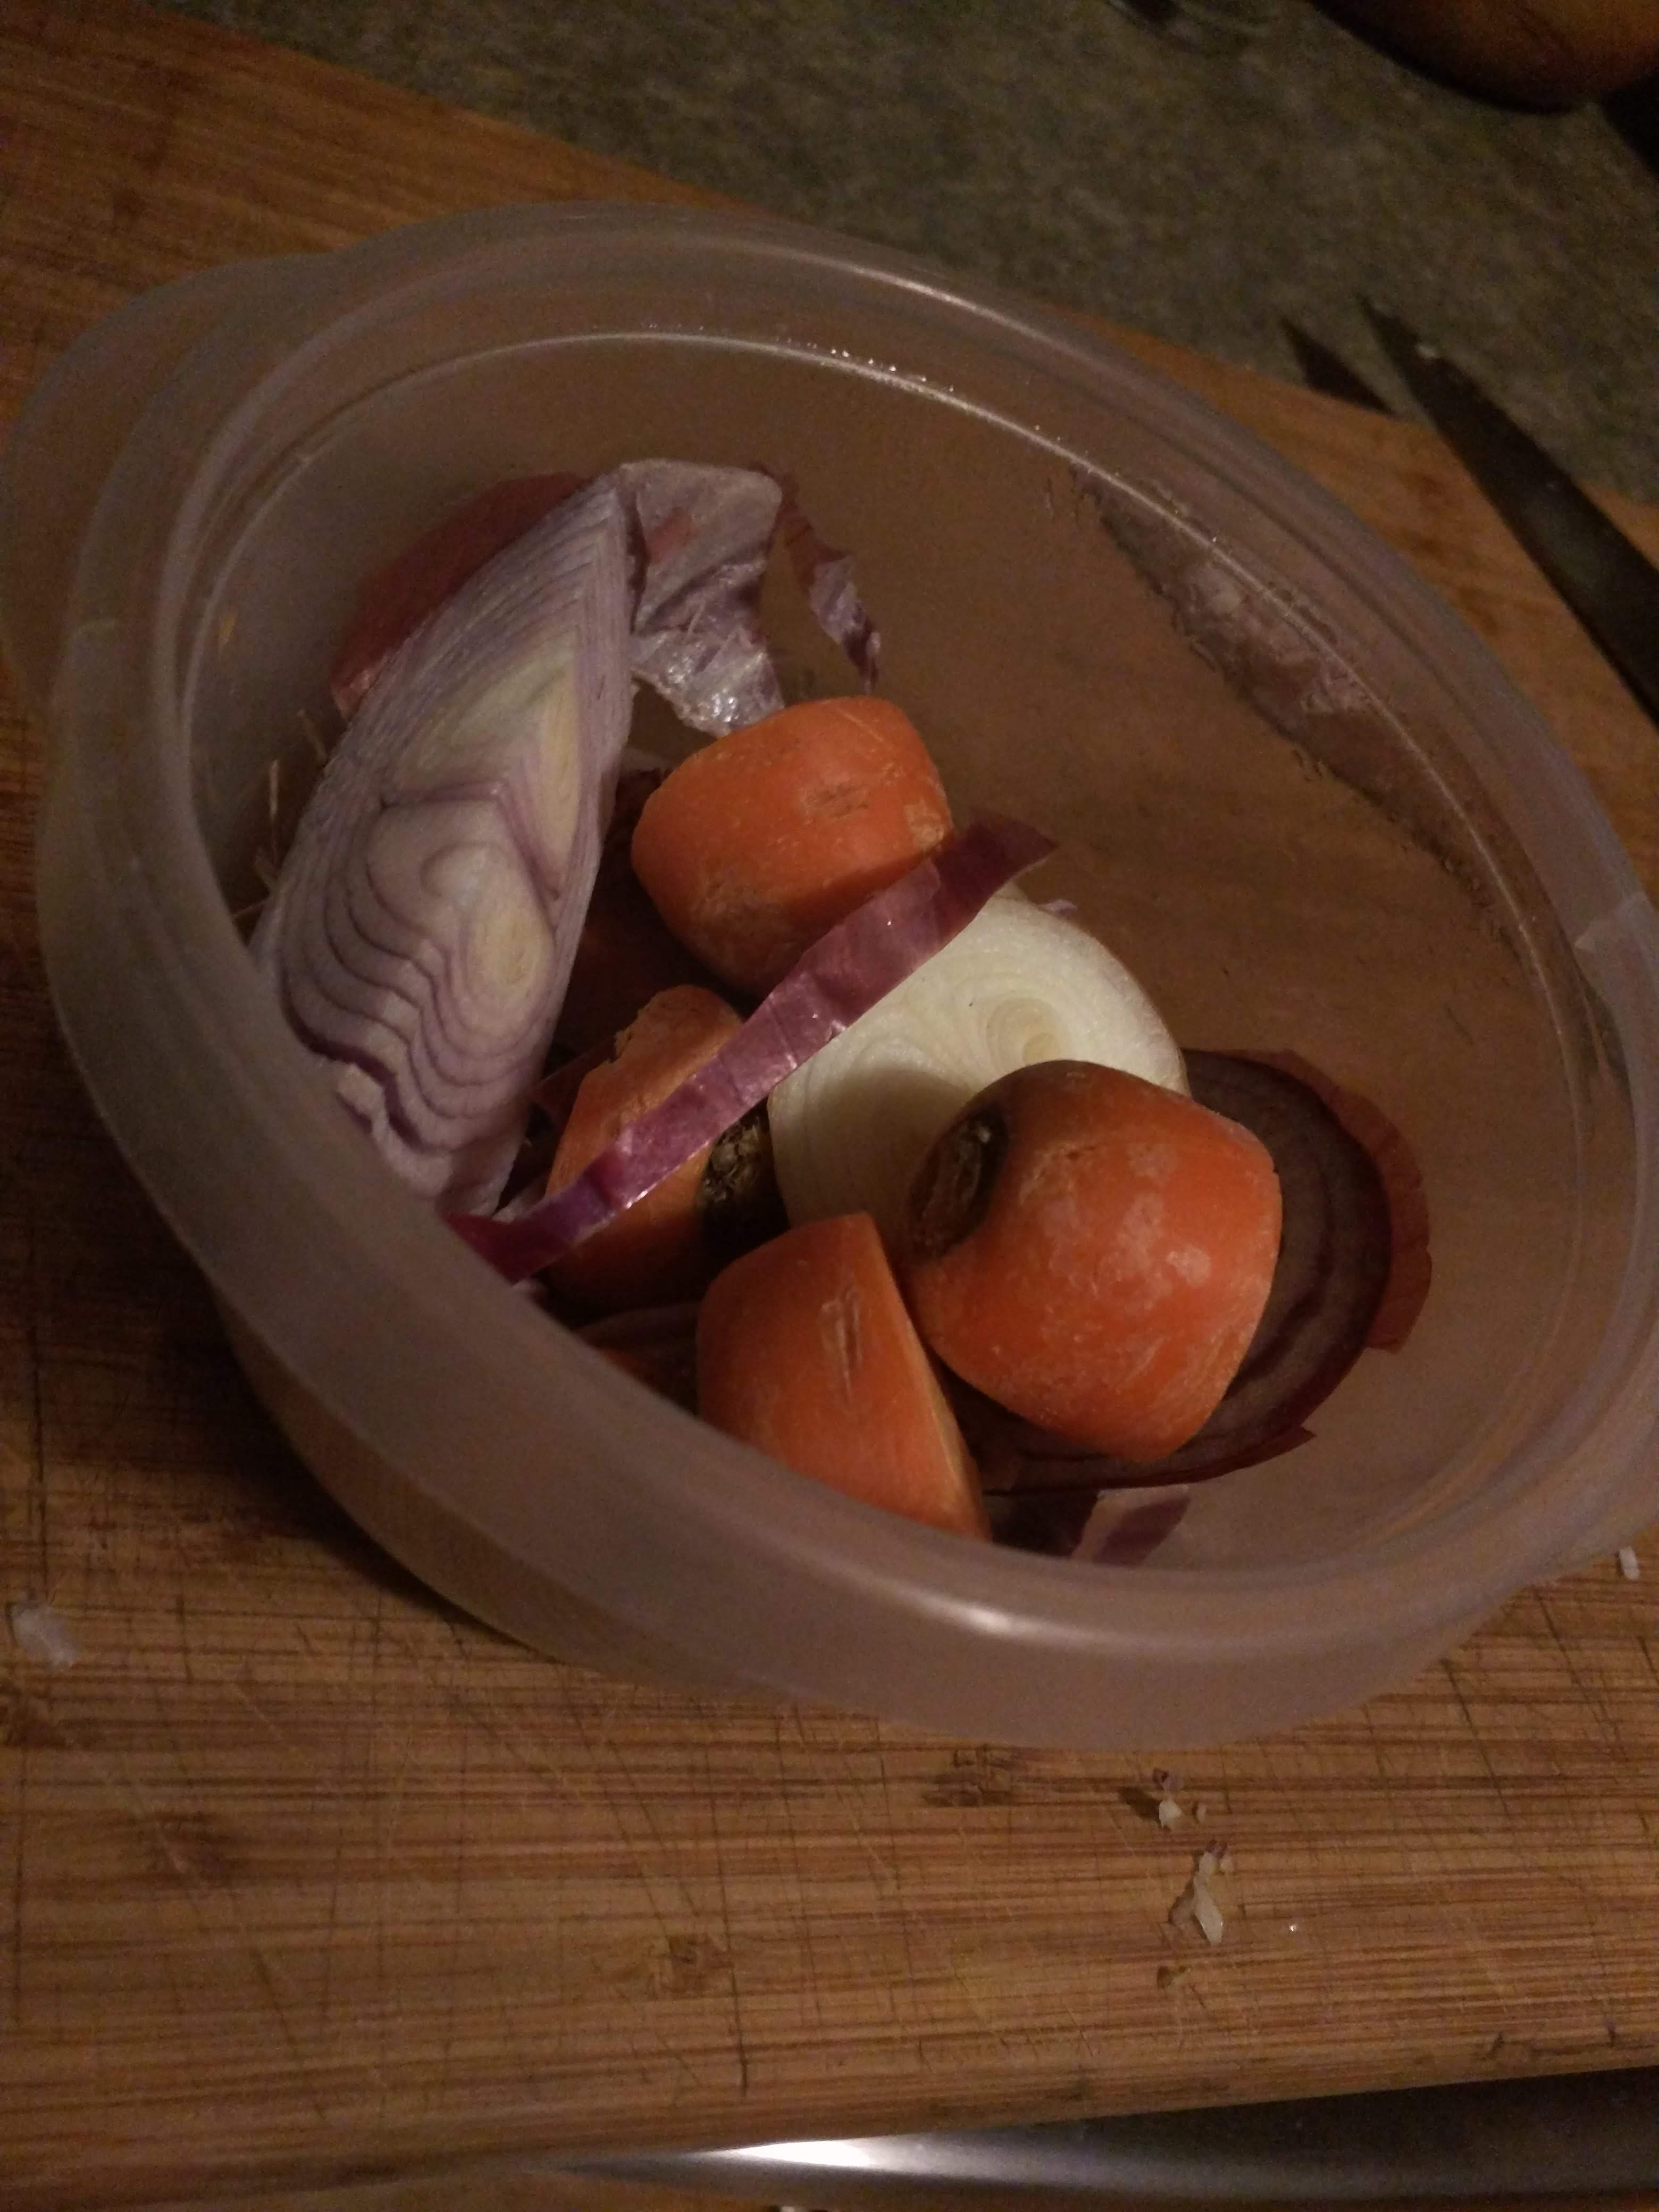
Start saving your onion bottoms, carrot tops, celery leavings and all those delicious bones from whole roasted fowl, bone-in roasts and turkey legs! I zip lock bones from the meals we cook in my house and stick them in the fridge until I’m ready to do a batch of stock. My onion, carrot and celery trimmings all get tossed into a container in the refrigerator for the same eventuality.
There are lots of fancy ways to make stock, and techniques for creating the most perfect golden vegetable stock, this is not one of those. This is how to make a delicious liquid to use for any application you’d regular use stock for. Most of mine ends up in soups, most recently a delightful wild rice and smoked venison sausage recipe that will make its way onto this blog eventually!

Ingredients-
-carrots
-celery
-onion
-bones
-water
-salt (optional)
-herbs (optional)
Step one, find yourself a nice large pot. Size basically only matters in relation to how much stock you want to make. I always make a small batch of stock in my four liter stock pot. It ends up making enough to put about a half dozen sixteen ounce mason jars in the fridge, sometimes more sometimes less depending on how much water I put in the pot and how long I simmer it for.
Step two, grab the scraps and bones you’ve been saving from the fridge and freezer. Bones should go straight into the pot. Fill the pot with water at least until the bones are covered. Add as much water as your pot can hold, you’ll just end up with more stock. If you’re short on ingredients in the stock, reduce the amount of water you’re going to use as that can result in a thing stock. This is purely a judgment call on your part, and some folks will appreciate a lighter stock.
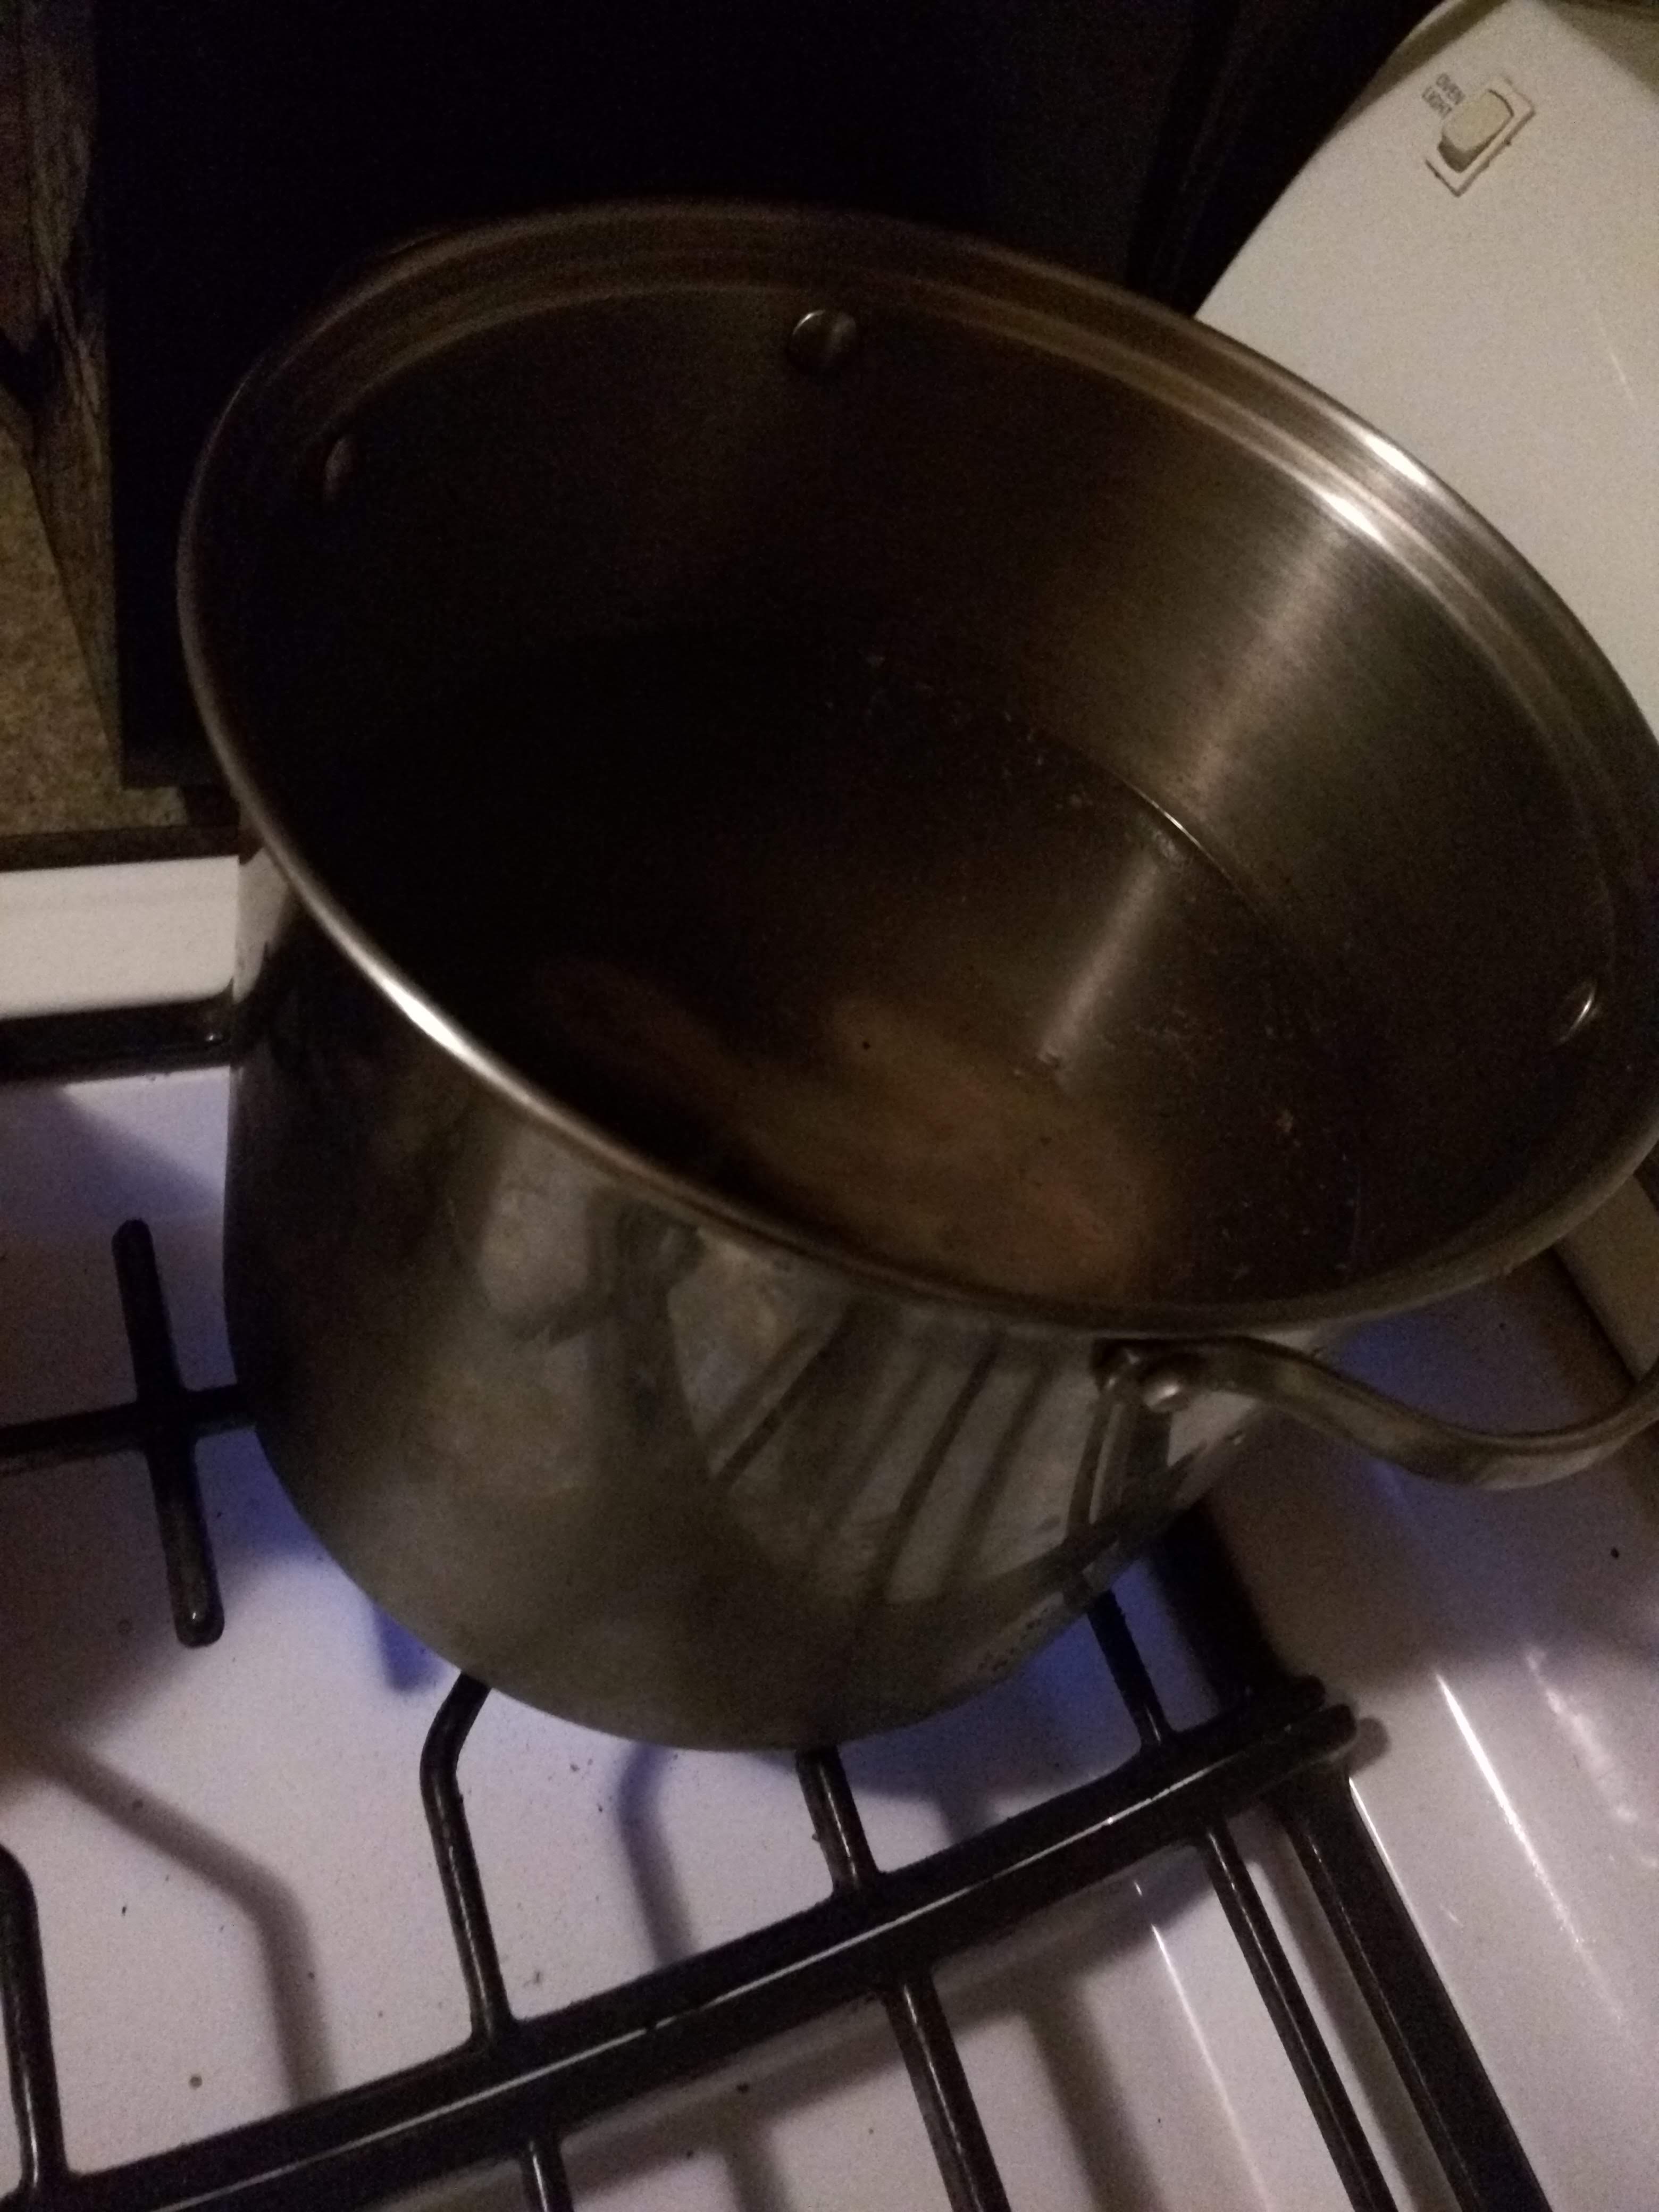
Step three, bring the pot to a low boil, then reduce to a simmer. Low and slow is going to be the key here. You don’t want to cook the stock on high heat, it tends to give it a bit of a bitter flavor, and won’t allow for the creation of a truly deep and flavorful broth.
Step four, Simmer the bones for at least an hour. Fancy chefs skim fat and debris off the top of the stock during this phase. I’m not fancy.
Step five, after an hour on the stove add in your veggies. You can also add aromatic herbs at this point. If I have some left over fresh sage, basil, thyme, oregano or cilantro lying around that is going to wilt and spoil I’ll often throw that into the pot too. I particularly like a sprig of thyme in my stock, but its not going to be your traditional stock flavor then.
Step six, continue to simmer the stock for another hour, or up to another day. The longer you simmer the stock the richer and thicker it will get. To up your fancy chef game, after four hours of simmering, strain the stock through cheese cloth, then return it to heat. Reduce it until it starts to coat the back of a spoon for a truly potent and thick stock to use in sauces.
Now that we’re done cooking the stock, its time to store it. I strain my stock through a colander lined with cheese cloth, just to remove some of the large bits of ingredients floating around in the stock, not going for a perfectly clean and clear broth, but like to clean it up a little.

Store the broth in mason jars, or what ever container you prefer in the fridge for a couple weeks. It can also be canned and stored in the pantry for at least a year. I’ve heard of vacuum packing it and freezing it as well, but have yet to tackle it myself. Homemade stock never lasts very long in my kitchen, so it hasn’t been an issue!
Pro tip – Save the feet from your upland game. Birds feet are full of collagen. Collagen adds a delicious thickness and richness to the stock that you won’t get otherwise, and is the key to making a demi glace. Add the feet to the stock right along with the bones and level up your cooking skills!

One thought on “Making Stock. An Essential Kitchen Skill”