Bread is not something you’ll find me foraging, but it is one of the most overlooked DIY kitchen tricks that you can learn to do. Making your own bread at home will impress your girlfriend, wife or friends, make your house smell like a delicious bakery and leave you with a lasting sense of accomplishment matched only by the birth of your first child.
Now this is not a post about how to bake the perfect loaf of French bread. This is a post about how to make bread, at home, without fancy recipes, long rest times or special ingredients. We are laying down a foundational dough that can be used in all kinds of applications, from pizza to baguettes, rustic whole grain loaves, or stuffed pockets of delicious dough.
These instructions are meant to get you to start experimenting with bread dough in the kitchen. My measurements should be taken with a grain of salt — pun intended! I don’t measure out this dough anytime I’m fixing it, but choose instead to go by feel and instinct! GASP! Isn’t baking all about precise measurements? Not in this kitchen! Measurements are for the faint of heart. Experimentation is what makes the kitchen fun.
Ingredients –
– Start with about 2 cups flour, you’ll use about 3
– 1-2 tbsp white sugar
– 2 and 1/4 tsp yeast (we’ll talk about yeast)
– a sprinkle of salt (we’ll also talk about salt)
– 1 and a 1/4 cups warm tap water
First things first. Let’s activate that yeast. And also talk about yeast. You can use instant rise yeast with this recipe, but if you do, I will think less of you. It takes about 5 minutes to activate bread yeast, which ever kind you choose to use, and your end product will be categorically better. I recommend Red Star Active Dry Yeast. I buy it in bulk and keep it in a jar on my counter. Having good dry yeast around makes me 100 percent more likely to bake bread. In fact, all the ingredients for a basic loaf should always be lingering around your kitchen at all times. Here is a nice short explanation of different types of yeasts from Sheela Prakash on Epicurious.com.
So now that I’ve convinced you to go purchase your first pound of active dry yeast, go ahead and activate it. Which I realize is exactly what the article I just linked to says you don’t need to do. And they are right. You don’t need to activate your yeast, but I find that it gives you a quicker, healthier rise if you go through this step first. In a large bowl (I prefer glass), pour your warm tap water. Turn the tap on as hot as it goes, let it run until it is hot to the touch, and then fill your measuring cup. Add the water to the bowl, along with the sugar (one tbsp for a mild loaf, two for a sweeter tasting bread, three if you are insane!), and the yeast.

Leave your yeast in the bowl for about five minutes. It’ll start to get bubbly. Once you are tired of waiting, start mixing in your flour and hit your bowl with a dash of salt!
Salt is very important to the taste of your dough, but we don’t want to over do it, and there are a number of choices of salt to use, which basically boil down to kosher vs not kosher, and large grain vs small. Do not, I repeat, DO NOT use iodized salt! In any of your cooking, ever. Make that your mantra. Get away from that basic old table salt in anything you are cooking and seasoning and you will be amazed how much better your food tastes. I prefer to use a coarse ground sea salt in most of my baking, because the large grains give a sudden burst of saltiness that gets distributed unevenly throughout the finished product, and makes for a delicious surprise. For a more even distribution of saltiness, use a fine ground salt. I always have at least two types of salt on my counter, usually Morton’s Coarse Sea Salt, and Diamond Chrystal Fine Ground Kosher Salt.
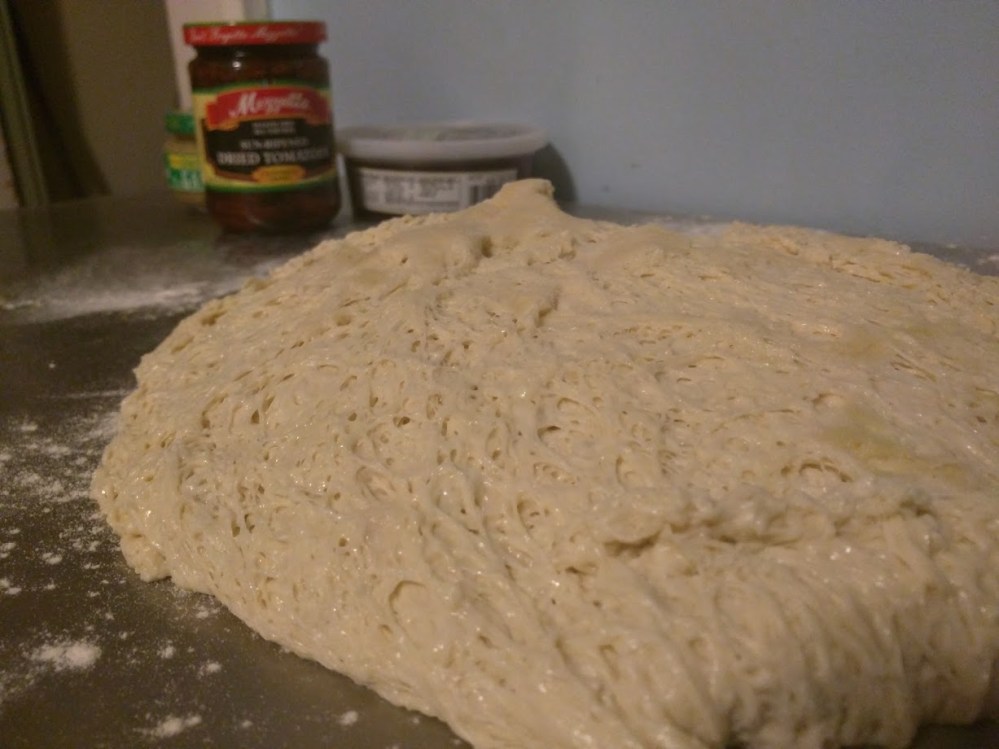
Now that you’ve hit your dough with a little salt, keep working your flour in with a wooden spoon or spatula. The first cup should go in whole, and be mixed into a soggy, sticky goop. Working the second cup of flour in, the dough should start to get more tacky and formed. Now is where some of the artistry begins.
Make this dough with just white flour your first time around. But, at this point I often add a half cup of whole wheat flour, buckwheat flour, rye flour, or any number of whole grains or seeds, like flax, sesame, chia or oats. For pizza dough I’ll hit it with some olive oil. This is your chance to get a little wild!
What we’re going for here, is a firm dough that you can start kneading. Your dough should have started to ball up by now, and be very sticky. Cover it with flour and flip it out onto your floured work surface to start kneading. Here is a great video from King Arthur Flour on how to knead bread. As you knead your bread you should be adding in the last of your flour. I usually have put 2 and a half to three cups of flour into my dough by now. We’re going for a smooth, just barely tacky to the touch, feel for your bread dough. It should have a rubbery quality to it, and if you press your fingers into the dough it should spring back on release.
This takes practice and some art form. My first couple of loaves of bread were dense, chewy bricks of flour that no one would take any pride in. Knead for at least 5 min, up to 15. You can knead for too long, and you can definitely go to short. We need to be helping the gluten in the bread develop into strong strands to depart that wonderful, airy, light texture, that makes great loaves of bread. Once you’re done kneading, lightly olive oil a bowl, set your dough in the bowl, cover with a moist towel and let your dough sit on the counter for at least an hour.
What we’re looking for here is for the yeast to start doing its work. They break down sugars in your dough and produce carbon dioxide, which releases from the yeast but is trapped by your nicely worked strands of gluten, causing the dough to rise. In an ideal world, your dough will double in size while its sitting on the counter. I’ve let dough rise for as little as a half an hour, and also left it for as long as three days. I don’t recommend the later, it gets a little sour at three days, but a two day rise creates a delicious yeasty bread with a thicker, crustier crust.
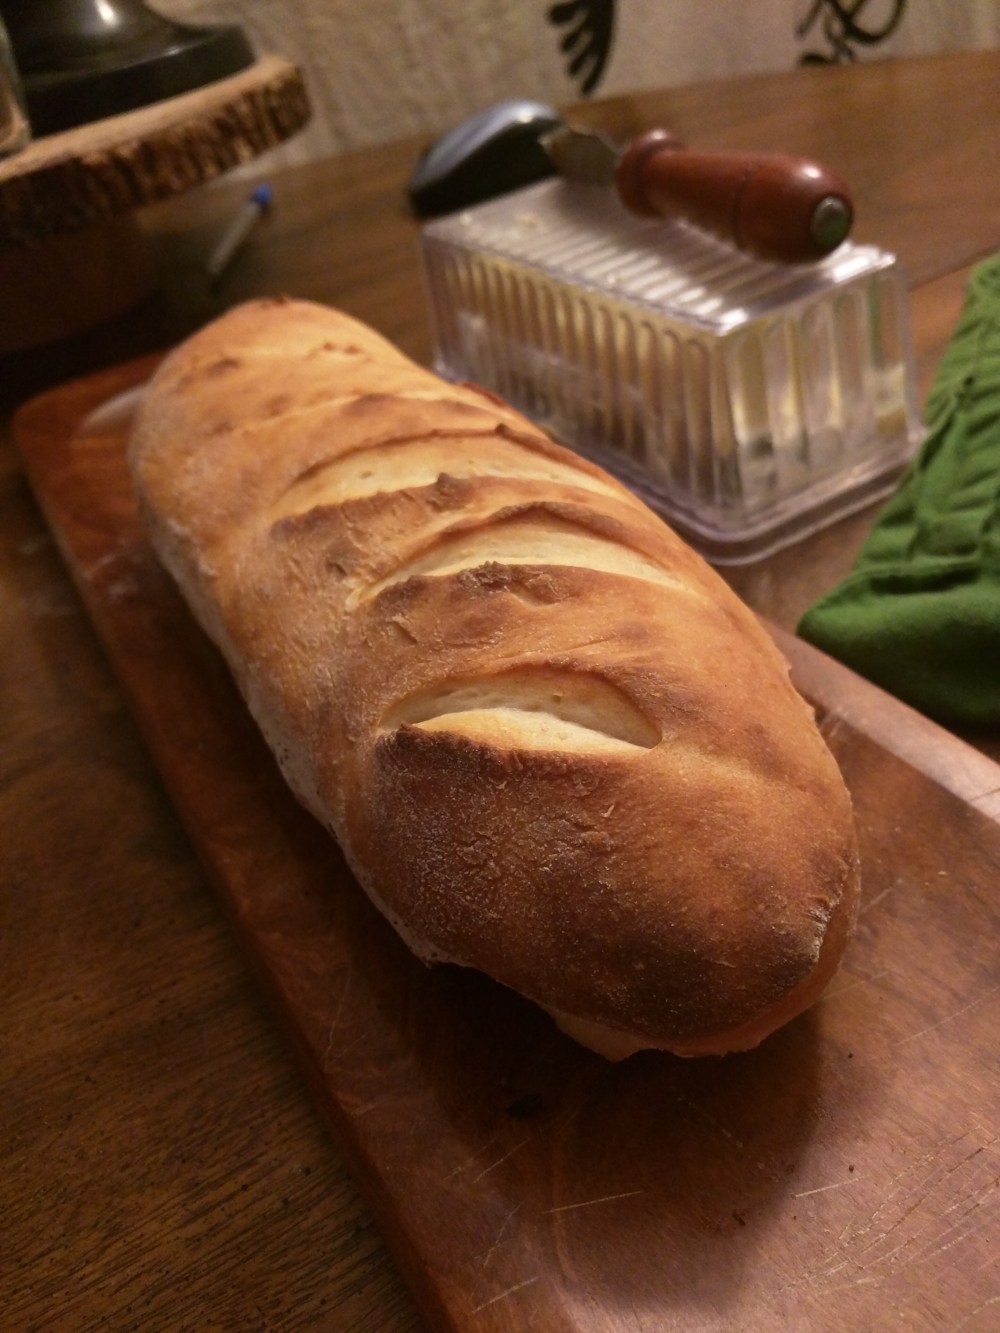
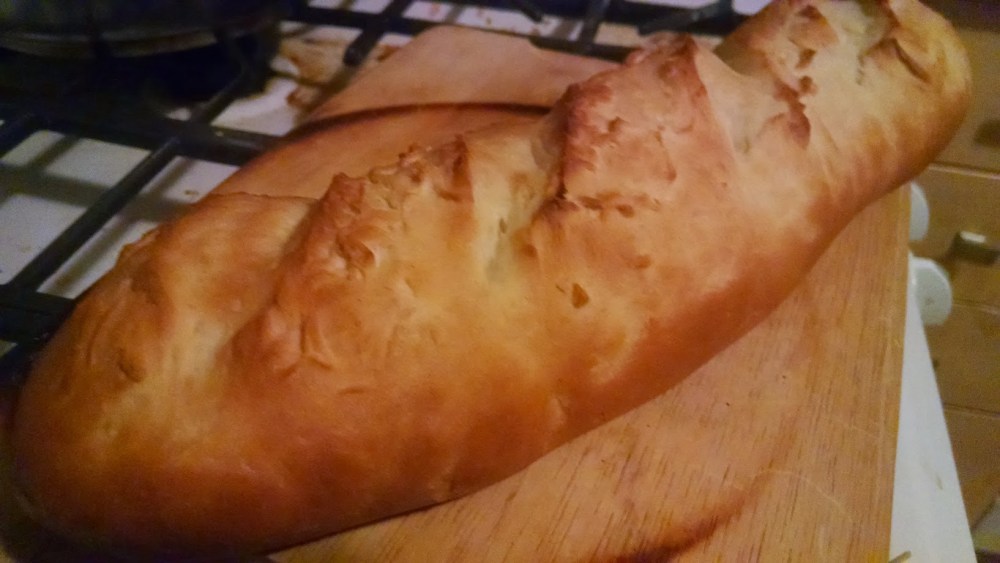
Once the dough has risen, flour your work surface one more time and turn out the dough for a final kneading. Work it over for at least 5 minutes again, and up to 10. You don’t want to over work it at this point, you will lose some fluffiness. You now have bread dough that will turn into a delicious loaf of bread. Shape it however you like. I prefer to cut it in half, flour my hands good, and roll each half out into a long baguette shape. I’ll leave these to rise again for another 30 minutes while I’m preheating the oven to 450 degrees, and then slit the tops in diagonal lines to open the dough a little before popping them into the hot oven. The bread is done when your house is filled with the delicious smell of fresh baked bread, likely 15 to 20 minutes. But seriously, when your nose feels overwhelmed by the delicious smells its probably time to take it out, and if you can’t smell anything emanating from your oven, its still not done. And last but not least, make sure to let your bread rest for 5 to 10 minutes before slicing into it! The baking is quite done until it’s been out of the oven for a bit.
Pro Tips –
- learn your oven. I cook most of my bread at 450 because I think it gives a better in over rise, and a crisper crust, this loaf can be baked at 350 too, but it takes longer
- to get a faster first rise, turn your oven on 200 degrees, once its preheated, turn it off, open the door and set the bowl of dough on the open over door, the heat will help hyper-activate the yeast. Make sure not to do this with a plastic bowl, I learned that lesson the hard way
- slather a bread pan with butter and toss a lump of this dough in it for a deliciously buttery, more sandwich style loaf
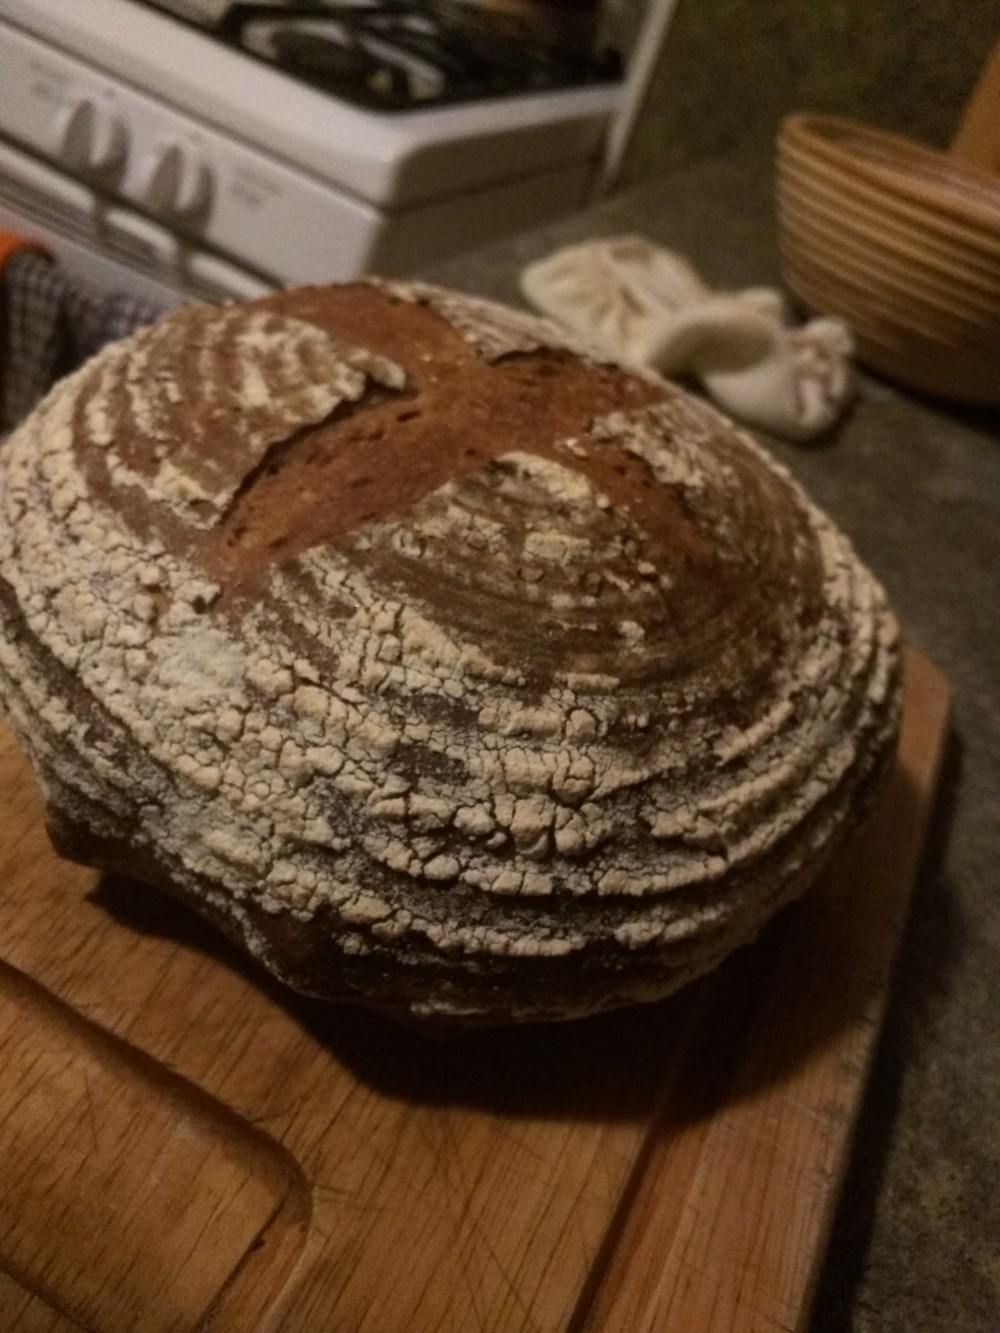
- Do your second rise in a floured brotform, I especially like doing that with my more rustic loafs that use whole grain flours. It makes a great textured loaf, and shows your pals that you don’t just make baguettes
- make this same dough with a tablespoon of olive oil and a quarter cup of semolina flour, roll it out flat with a rolling pin and use it for the best pizza dough you’ll ever eat
- divide this dough into about a dozen round balls, place them side by side in an 8×11 baking pan, cover the tops with butter, season with garlic salt and herbs and bake for a pile of delicious dinner roles
